Showing posts with label GDT. Show all posts

Sunday, 17 March 2019

GDT Post - Vintage canvas

Hello friends..

Today we have Divya from Divya's Creation Guest Designer for Expressions Craft. Join our challenges to get a chance to guest design.

Over to Divya

Hope you all are having great crafty time...Today I'm here with beautiful Vintage Canvas.


So here is the pictorial tutorial.Let's get started!!

1)Firstly I took this beautiful vintage look decoupage paper and made a collage background using expression crafts Art Medium Matte.And kept it for drying for 2-3 hours.


2) Later I did stenciling using Crackle texture paste from expression crafts and gear stencil.


3)Later I took script stamp and inks from my stash  and did stamping in the background.

4) Later I took chippies,metal charms and other embellishments and gave them a single coat of black gesso.


5) After that I assembled the layers and pasted using Heavy Dimensional Gel from Expressions Craft and kept it for drying overnight.

6) Later I used Raw Umber, Ancient Gold and Emerald Forest Metallic Paints from expression crafts n did dry brushing on the embellishments and background.


7) Later the Deco Stones from Expressions Craft increased the beauty of my project.


Thanks for stopping by


Sunday, 17 February 2019

Guest designer - December - Inspiration

Hello Crafters,

Today we have Sudha kabra's second inspiration project. She is our Guest designer this month. She was the winner of our December month challenge.

Over to her

Hello crafty friends ,

Hope all going well!!
I am back with my guest designer post for expressions craft.  I thought a lot what to create for showing the actual grace of their awesome products and so decided to make vintage looked reverse canvas.. Hope u all will love it.. have a look..


I have prepared video tutorial for this beautiful canvas for how I created this.. 
Materials that I used are texture paste,  white Gesso, stencils, deco stones and metallic paints from expression crafts. So let's get started with small video tutorial:


Thanks for stopping by,
Hugs

Sunday, 10 February 2019

Guest Designer - December winner

Hello Crafters,

Today we have Sudha kabra as our Guest designer. She was the winner of our December month challenge.

A brief bio of her
I am Sudha Kabra, a very enthusiastic crafter. I really love to craft at any time. I am home-maker and mom of two teenagers.

I used to do crafting since my school time but in between it stops for sometime. Gradually I came back and started creating things from Quilling!! I still love that art very much. Also I love to make mixed media art on different bases, decoupage and love to do altered art very much!!

Over to her
Today I am here in front of you with my guest designer post for expressions craft...
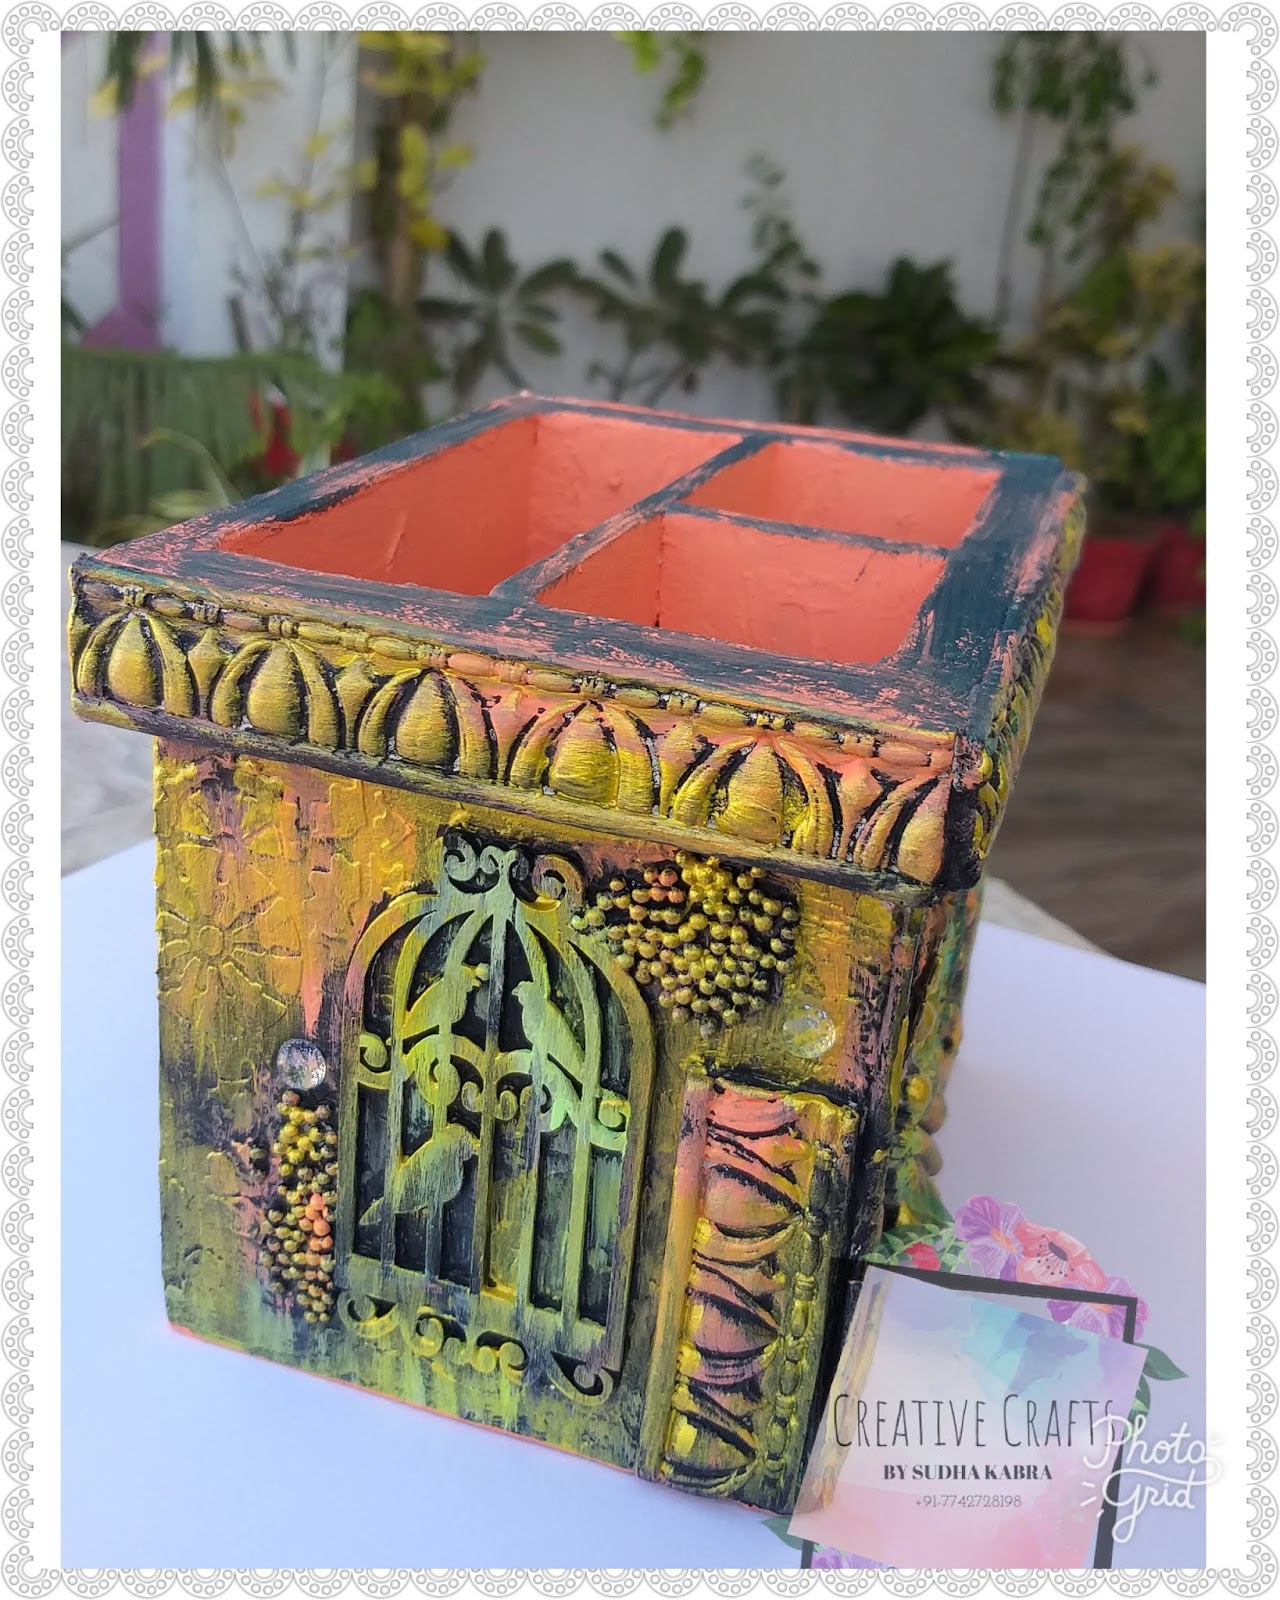
So, I decided to make mdf cutlery stand using maximum of products from expressions' craft..

Here are few glimpses of my project:


Now I am presenting step by step process by pictorial steps how I made this.. let's get started:
  • First of all I sanded mdf base and then covered it with white Gesso. after that placed all the thinks in the way I want..


  • Then covered it completely with black Gesso...


  • Finally after this step just go on playing with colors. Here I first added few strokes of chalk paints from expressions craft and then highlighted it with metallic colors.. Here is final creation:


Thanks for stopping by...
Hugs

Sudha Kabra 


Sunday, 27 January 2019

Guest designer - Vintage Frame

Hello everyone,

Today we have our guest designer Anita goel, she was the winner of our November month challenge.

Participate in our monthly challenge to become a Guest designer.

Over to her

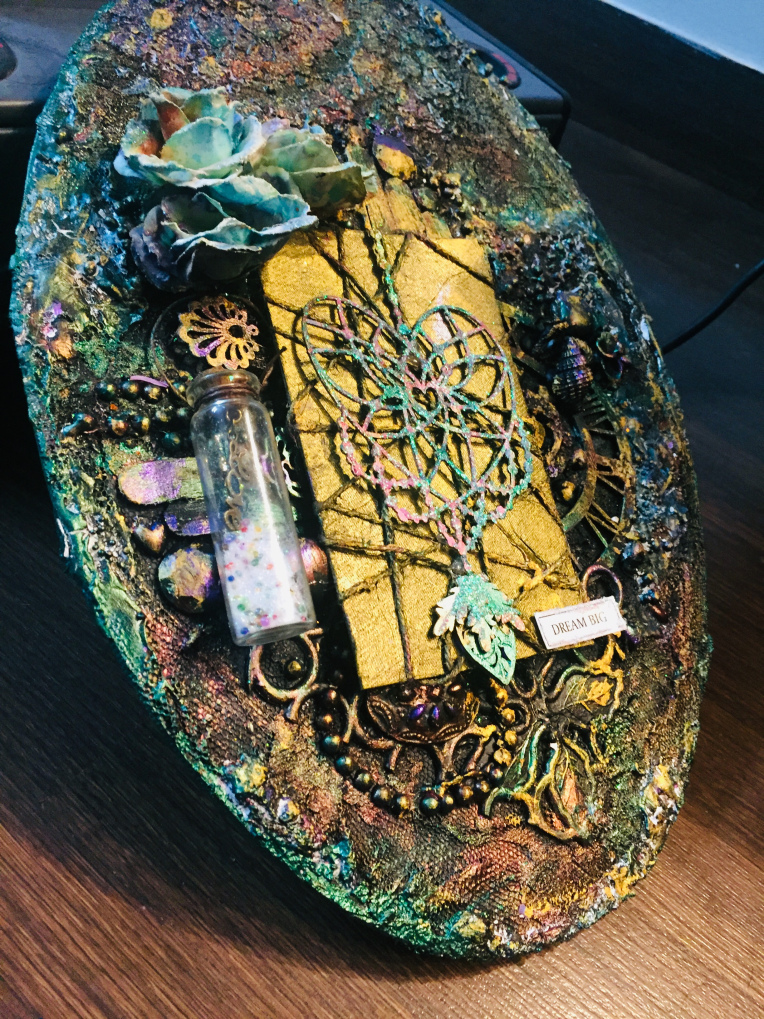
Hi friends.. As a guest designer post for expression craft .. I altered Mdf oval frame as table decor, using chippies and wonderful Immix metallic paints..

Glimpse r here::::


Let’s start with tutorial::

Stick net on oval frame.
Mix Immix sprinkle glitz with texture paste . And apply it with palette knife on top.
Added Embellishment from my stack like beads ,lace,pearls, stones,clock frame,shells.
Now I applied Crackle texture paste from expression craft and stick decostones micro and mini on the top.
Cover everything with black gesso.
Now fun part starts..Randomly dry brush the metallic paints ( velvet orchid and Pearly peacock)from expression craft .

Take cardboard tag ,, and tie rope on it .. colour it with metallic paint( raw umber).
Highlight dream chippies from expression craft with metallic paints..
To give it glitter ,sprinkle fairy dust ( green) from expression craft.
Fill same fairy dust In wish bottle with Love charm inside…lastly .colour the flowers with same colour of background and stick to side of tag.. 
Hope u love this tutorial..
Happy crafting❣️

Anita Goel

Sunday, 6 January 2019

Guest designer - January

Hello evereyone,

Today we have our Guest designer on blog. Anita Goel is our winner of our November month challenge.

Over to her

I m Anita goel here from Delhi.i love crafting unique things.. Thanku bhavani di and expression craft team for giving me chance to be as Guest designer of expression craft for January month 2019.

Today Women is clothed with strength and dignity and she can laugh without fear of the future. 
“She designed a life she loved “
I made Jewellery box accordingly- 


Let’s get start with step to step tutorial with pics :::
1. I decoupage box with packing paper.Then I applied Immix chalk paint (Aqua marine)on left side and lid of the box.On right part stick patterns paper .. Distress edges with same chalk paint and brown for vintage look.


2. Stamp on paper and stick randomly.

3. For crackle effect , I used Immix crackle texture paste with stencil.Stick Handcut 3 hearts too..


4. For dress: Handcut dress design and make frills by making accordian fold..Add Embellisment like wings chippies(from expressing craft),lace, stones,flowers,hanger....


5. Added Metallic paint(pearly peacock ) on oval frame and sprinkle Immix fairy dust ( green colour).


6. Write sentiment with white colour as”She designed a life she loved “

7. Now spread Immix Deco stone Micro and medium inside oval window and randomly on box.
8. Lastly, outline the crackle effect with metallic paint( velvet orchid)..spray gold shimmer spay .. and sprinkle Immix fairy dust.


List of supplies from expression craft:::
Immix chalk paint (aqua marine)
Immix decostones micro and medium
Immixmetallicpaints(pearly peacock,velvet orchid)
Immix fairy dust

Sunday, 30 December 2018

Mixed media canvas with Steampunk

Hello Everyone,

Priya Satish back again on the Expressions Craft Blog with my second Guest Design Project. I have created a mixed media canvas.

My work revolves around the theme, "Great ideas need landing gear as well as wings".


Dream big, set the standards high, spread your wings and soar into the sky. However do add a landing  gear to make them really count.

I have created a video of the process where I have used products from Expressions Craft namely the chipboards, Deco stones, Metallic paints, Sprinkle mist, Crackle Texture Medium, Stencil and stamps.

Watch my video tutorial here


Hope you like it. 

Thank you 

Sunday, 16 December 2018

Guest designer - December - Photo Tutorial

Hello evereyone,

Today we have our Guest designer on blog. Priya Satish is our Guest designer of December.

She has made a beautiful mixed media canvas art with a photo tutorial

Over to her

Hi everyone

Priya Satish from Creative Motifs here and I'm so excited to be Guest Designing for Expressions Craft. Thank you Bhavani Balaji and the entire team for this wonderful opportunity.

Giving up on something is easy. But holding on and going against the tide and succeeding needs a lot of courage. Patience with perseverance always makes things perfect. Shells and Ocean teaches us precisely this. Hence I created this Canvas.

Here's the synopsis
Step 1
On a Canvas board, I applied Immix Crackle Paste through Expressions Craft's Doily Lace Stencil and allowed it to dry so the cracks appears.  

Step 2
With Stampers Anonymous News Print Stamp and Archival Ink Cobalt Blue, added interest to the background.  

Step 3
Next misted the canvas with Immix Sprinkle Mist Deep Teal Blue .  

Step 4
Dyed a piece of Cheese cloth with the same Deep Teal Blue.  

Step 5
Added some Shells, stones and, adhered Chippies from Expressions Craft Leafy Wreath and Vintage Ornate Floral Border Collections to add more interest.   

Step 6
Added some Immix Deco Art Stones Medium and Deco Mini Stones.  

Step 7
Finally added my sentiments and completed the canvas.  


Here are some more close ups.


Hope you liked the project. Have a great day!!!