Wednesday 30 May 2018

Mixed Media Journal with Expressions Crafts

Hi everyone, Steph here today and I've created a video on my mixed media book.


I began by painting a journal and the chipboard embellishment with black gesso.  I used the Brick Wall stencil with molding paste to add dimension, then spritzed the journal with Imagine's Fireworks Shimmery Craft Sprays in Pear Tart, Summer Sky and Tangelo.


Butterflies from the Happy Fly Stamp set were randomly stamped on the cover.  Several butterflies and leaf stems were die cut from Rinea Foiled Paper and added to the cover along with a flower from my stash.  To finish, a phrase from the Happy Fly Stamp set was stamped and added to the left side.


I've created a video of my process.


Thanks for stopping by.

Supplies List


Steph

Tuesday 29 May 2018

Mixed media card

Hello crafty friends,

I am shylaa here with an inspiration using our Circled sentiment and birds&branches Chipboard embellishments.
 

Here are steps involved:
1. I have glued the pearls to the cardbase
2. Apply a coat of black and white gesso
3. Add watercolour sprays as you wish to the white portion
4. Embellish with flowers and chipboards
5. Add some glitters over it

Some close ups


Hope you like it.
Here is the expression product list used in this project


 Happy Crafting

Shylaashree

Monday 28 May 2018

Decoupage bottled art with cycle de' amour

Hey Guys!!
Am back again. I am truly not a decoupage artist. But with the cycle de’ amour decoupage papers by expressions craft, I have explored this beautiful art of decoupage. And now I am in love with it. So here is my another project with Cycle de’ amour decoupage paper. I have altered the simple bottle of keventers into a beautiful home decor piece 

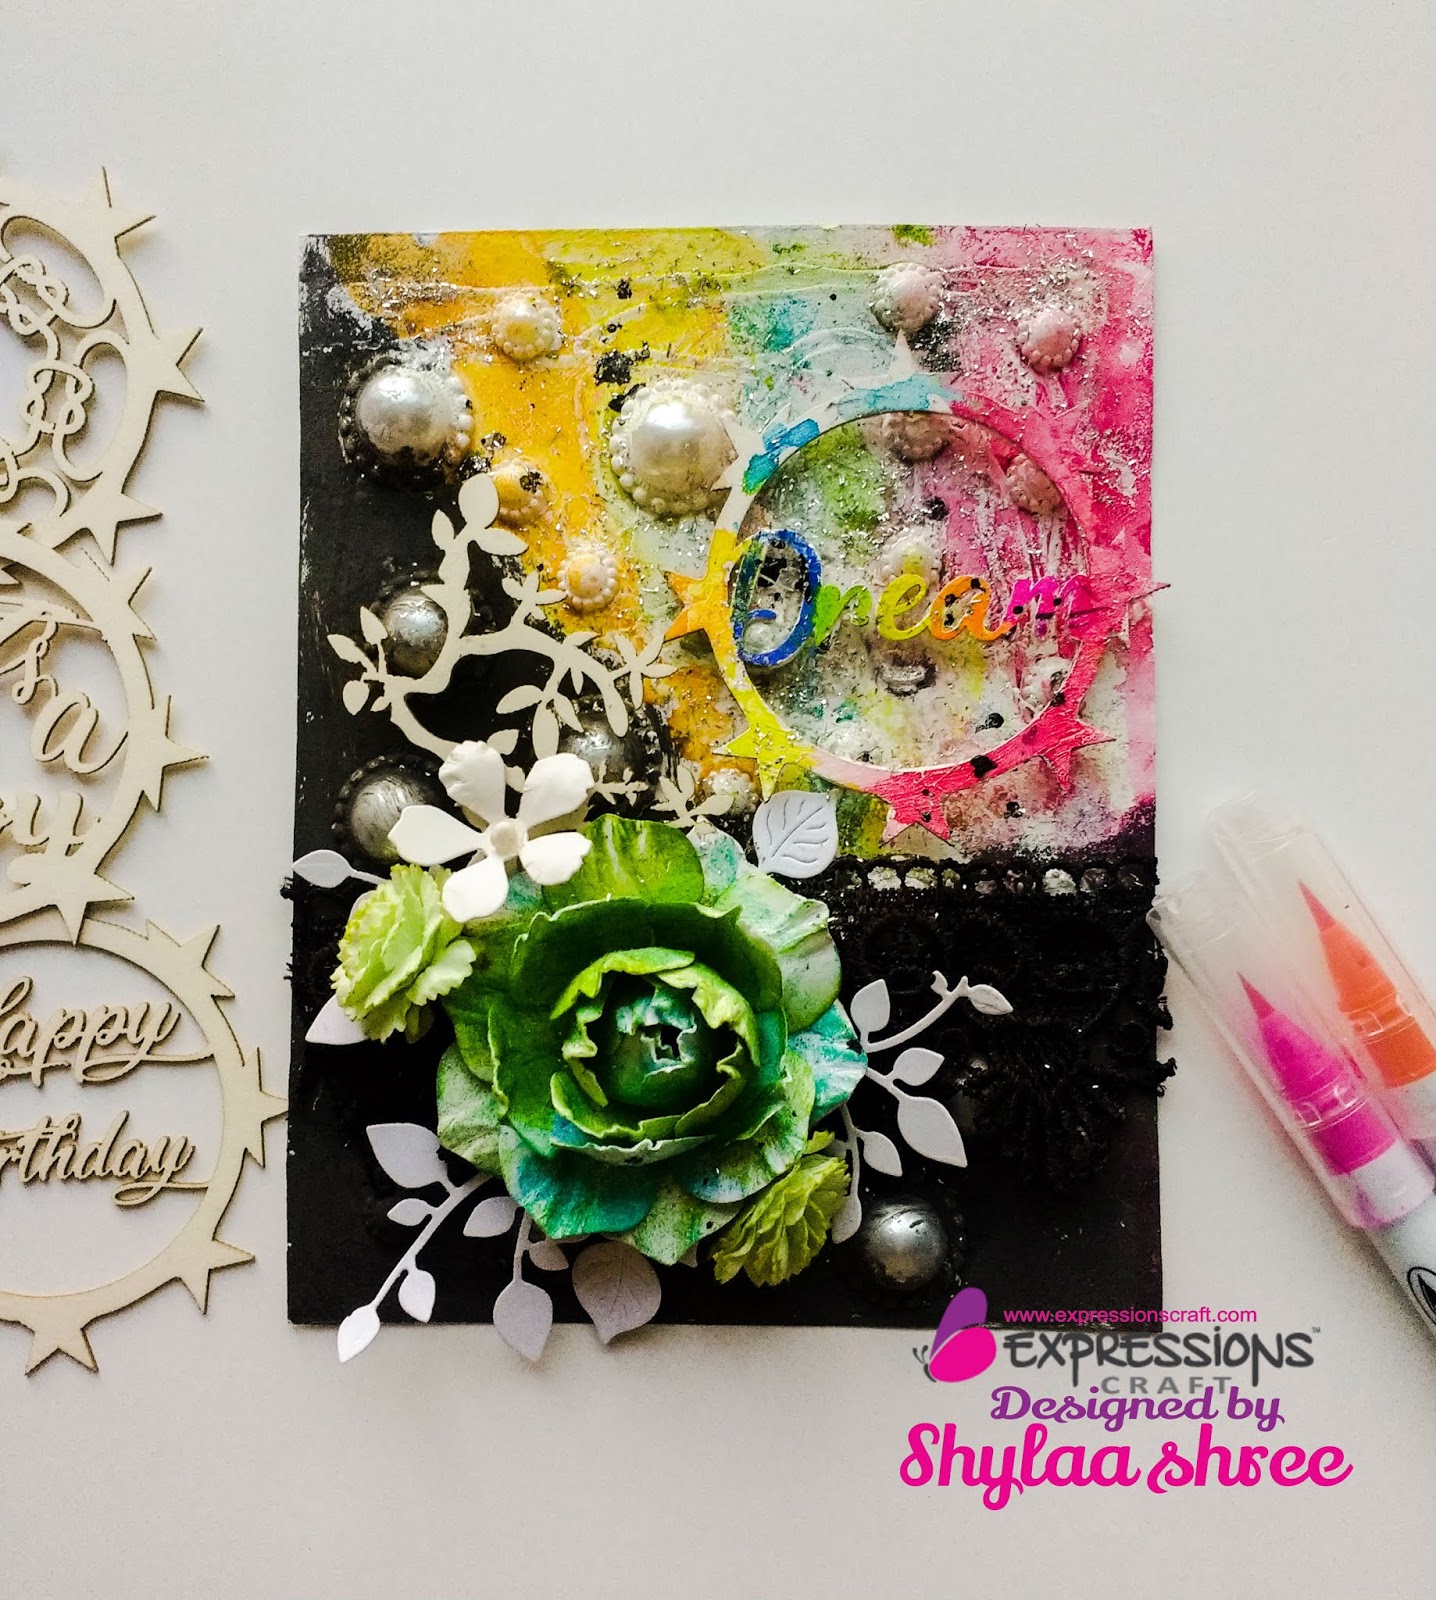
In my first part of decoupage I have made mixed media canvas with cutout from these speciality decoupage paper.

This time I have converted a simple plain bottle into a beautiful home decor item.
Here is a short guideline  to make this bottle art.
These 100 GSM papers are easy for fussy cutting . I have fussy cut the bicycle and it ornate border from the sheet and have also used the border from the sheet near the neckline of my bottle.
First I have cleaned and dried the bottle. Then have applied the coat of gesso with paint brush. After the coat have dried up, I have applied the co-ordinating color of chalk paint with the paint brust. I wanted textures on my bottle so have used paint brush. Then I have used crackle medium to create crackle effect.
After this, I have pasted the cut-piece of decoupage paper on my bottle in the center using decoupage speciality glue. Then it was time to add some dry bush colors for shading and some flower embellishments.
I am happy with the outcome. Hope you too like my take on decoupage.

Here is the link to buy these papers 

 Cycled'amour

thanks for stopping by..
Kirti

Saturday 26 May 2018

Stay magical- Watercolor background card


Hello Crafty people,

Kirti here. Today I have a beautiful card ‘stay magical” to share with you all with fairies stamps by expressions craft.

Be like a fairy in Dreamland- BE unique and stay Magical!!


I have created watercolor background creating rainbow sky scene and have used two fairies and mushroom house from stamp set for this card.


I have a video tutorial to create the background for this card. Hope you enjoy it and find it inspiring.


Here is the list of products used from expressions craft!!

Magical Fairies

Thank you.
Kirti

Friday 25 May 2018

Altered diary cover

Hi friends,

I am back on Expressions craft blog with a new inspiring post.

I am sure you all must be having a personal diary or journal. Everyone maintains a diary. How about an idea for altering its cover, I have come with a post where u can alter your diary cover and beautify it with Expressions craft decoupage paper and chippies embellishments.

I have used "Mandala 2" decoupage paper and beautiful chippies from "Circle sentiment set" and "Star danglers" by Expressions craft.

Lets have a look at my Altered diary cover...


I took the Mandala 2 decoupage paper and cut the centre circle and the corners along the pattern as shown.....


As I wanted some of the black part of my diary cover to show. 

Adhered the paper with gel medium on the diary cover. I have used half cut pearl lines to cover the entire outline and used star and "DREAM" sentiment to further decorate my cover.

I have coloured the dream chippie with black paint and added a "BIG" sentiment on a star too.

Few more close ups I would like to share....


Hope u all like my project and would love to alter your journal or Diary cover....
Guys happy crafting....Use Expressions craft chippies and decoupage paper for these beautiful results.

Love 


Thursday 24 May 2018

So Yummy by Steph

Hi everyone, Steph here using Ice Cream Boy, which is such a cute stamp set.


I stamped the ice cream cone in black ink, then colored it with Memento Markers.  Then I fussy cut it for my project.


I mounted the ice cream cone on foam adhesives and offset it on oval die cuts then added it to a striped card.  Oh Yummy was tucked slightly underneath the cone.


Thanks for stopping by.

Supplies List


 Please stop by my blog for more inspiration.


Steph

Wednesday 23 May 2018

Mixed media layout

Hello everyone ,

I am Sheetal back with my GDT post today

I made a mixed media layout using the Expressions Craft stencils and chipoard cutouts.


Let me show you all few glimpse of my project followed by a video tutorial.


Here is my video tutorial


Supplies used


Sheetal

Tuesday 22 May 2018

Happy bear

Hello friends,

Here i am shylaa here today with birthday cards made with our Happy bear stampset.

This stamp is of 4x4 size and the bear is soo cute which best fits for birthday cards.

First Card
  • For this card, i stamped the cupcake stamp over the edges of the card with versamark ink and heat embossed with Wow clear embossing powder. 
  • Then distressed with worn lipstick and squeezed lemonade distress inks. 
  • Then diecut the cardstock with postage die and created a shaker panel. 
  • Stamped the sentiment to the cardbase and added the shaker elements and adhered the shaker panel over it with 3d foam tape.
  • Stamped the bear image and watercoloured with Zig watercolour markers and fixed over the front panel


Second Card
  • The bear image is stamped and watercoloured with Camel watercolours and diecutted with scallop circle die.
  • The pattern paper is adhered to the cardbase 
  • Adhered the diecut panel and sentiment over it


Third Card
  • This card is a single layered card.
  • I stamped the bear stamp and masked with masking paper.
  • Used the sentiment from Cupcake wishes stampset and stamped it over the image with vintage photo and tea dye distress inks.


Hope you like it and got some idea 

Supplies list

Thanks for visiting

Shylaashree