Saturday 30 November 2019

Abstract painting canvas. Video tutorial.

Hello All!

This is Irina Chebotareva (IraChe).
Sometime mixed media can be very unusual. It can be something like art.
Today I want to share my abstract painting canvas. I made this video process specially for you. For creating this canvas I used our chalk paints and metallic paints.


 Enjoy watching Tutorial


  Chalk Paints   


purchase all mixed media related stufss at www.expressionscraft.com
our products are also available with
connect4sale
Hindustan fine arts and craft - since 1974
 Make beauty with smile,
Irina Chebotareva

Thursday 28 November 2019

Twinkling star- Photo tutorial

Hey Hi Hello everyone ,

This is Tatyana here today to share altered box photo tutorial for you people.. without delay lets look in to the project , its a perfect gift for  New Year.. few glimpse here


I brought in small boxes, cardboard and textiles. And she created a convenient jewelry box.
I used Metallic Paint and ArtMedium to create a texture paste.
I painted glass stones with Metallic Paint for decoration.


I painted decorative stones with gold paint and added them as a decoration at the very end.
I used only white and black jesso. But my box turned out to be very bright.
You will be able to repeat this project with professional materials from the EC.

Materials:

Details in the video.


Do participate in our ongoing challenge
https://expressionscraft.blogspot.com/2019/11/challenge-15-winter-celebrations_2.html

for all mixedmedia supplies hop on to our website
www.expressionscraft.com


Thank you for watching ! do share your love  in  comments section below
Thats all for today ! Happy crafting 
with love
Tatyana 

Wednesday 27 November 2019

Altered gift box- Winter theme

Hello Crafters

Varsha here, As we all know Christmas & New Year is around & Santa Claus is out to shower gifts for all of us. In the same spirit I went ahead & altered a normal courier packing box into a beautiful chocolate gift box. Below is the video tutorial for the same. I hope to inspire you to be the Santa for your loved ones & create something similar.


Supplies Used:

1. Heavy White Gesso
2. Chroma burst- Bright Carnival, Tea cup Teal, Amber gold,Fresh lime
3. Sprinkle Mist- Royal blue, Persimmon
4. Fairy dust glitter- Blue
5. Magic sparks
6. Stencils- Wall & Water drop
7. Chipboards- Frames & steampunks ( Big clock )
8. Glass Nuggets
9. Ground texture paste - Ice & snow
10. Art medium gel transparent- Gloss


Here is my project:


Please come & join our current month challenge i.e. Winter Celebrations
for rules & challenge details please click the picture below:


buy all craft supplies at


Love & Hugs
Varsha Gupta


Tuesday 26 November 2019

Through Santa's Eyes... (Photo Tutorial)

Greetings everyone!

This is Isha Pai and today I am here on the blog to share a detailed photo tutorial of my project "Through Santa's Eyes" which goes very well with the current monthly theme 
Winter Celebration.

This project depicts a beautiful house which is decorated for Christmas and Santa is spying on the house through the window on when and how to get into the house. Also, in this project the reindeer stands camouflage with the wall of the house, as he is sent by Santa himself to have a close look of the house.

In this project I have used newly launched chippies like Mistletoe (leaf and berries) and Pillar flourish frame.


Let's begin with the photo tutorial:

Step 1: I took an 8" by 8" MDF base, with panel of a window. And few newly launched chippes. The picture shows snowflake and star chippies also, but I decided to not use in the project as it will go unnoticed. 


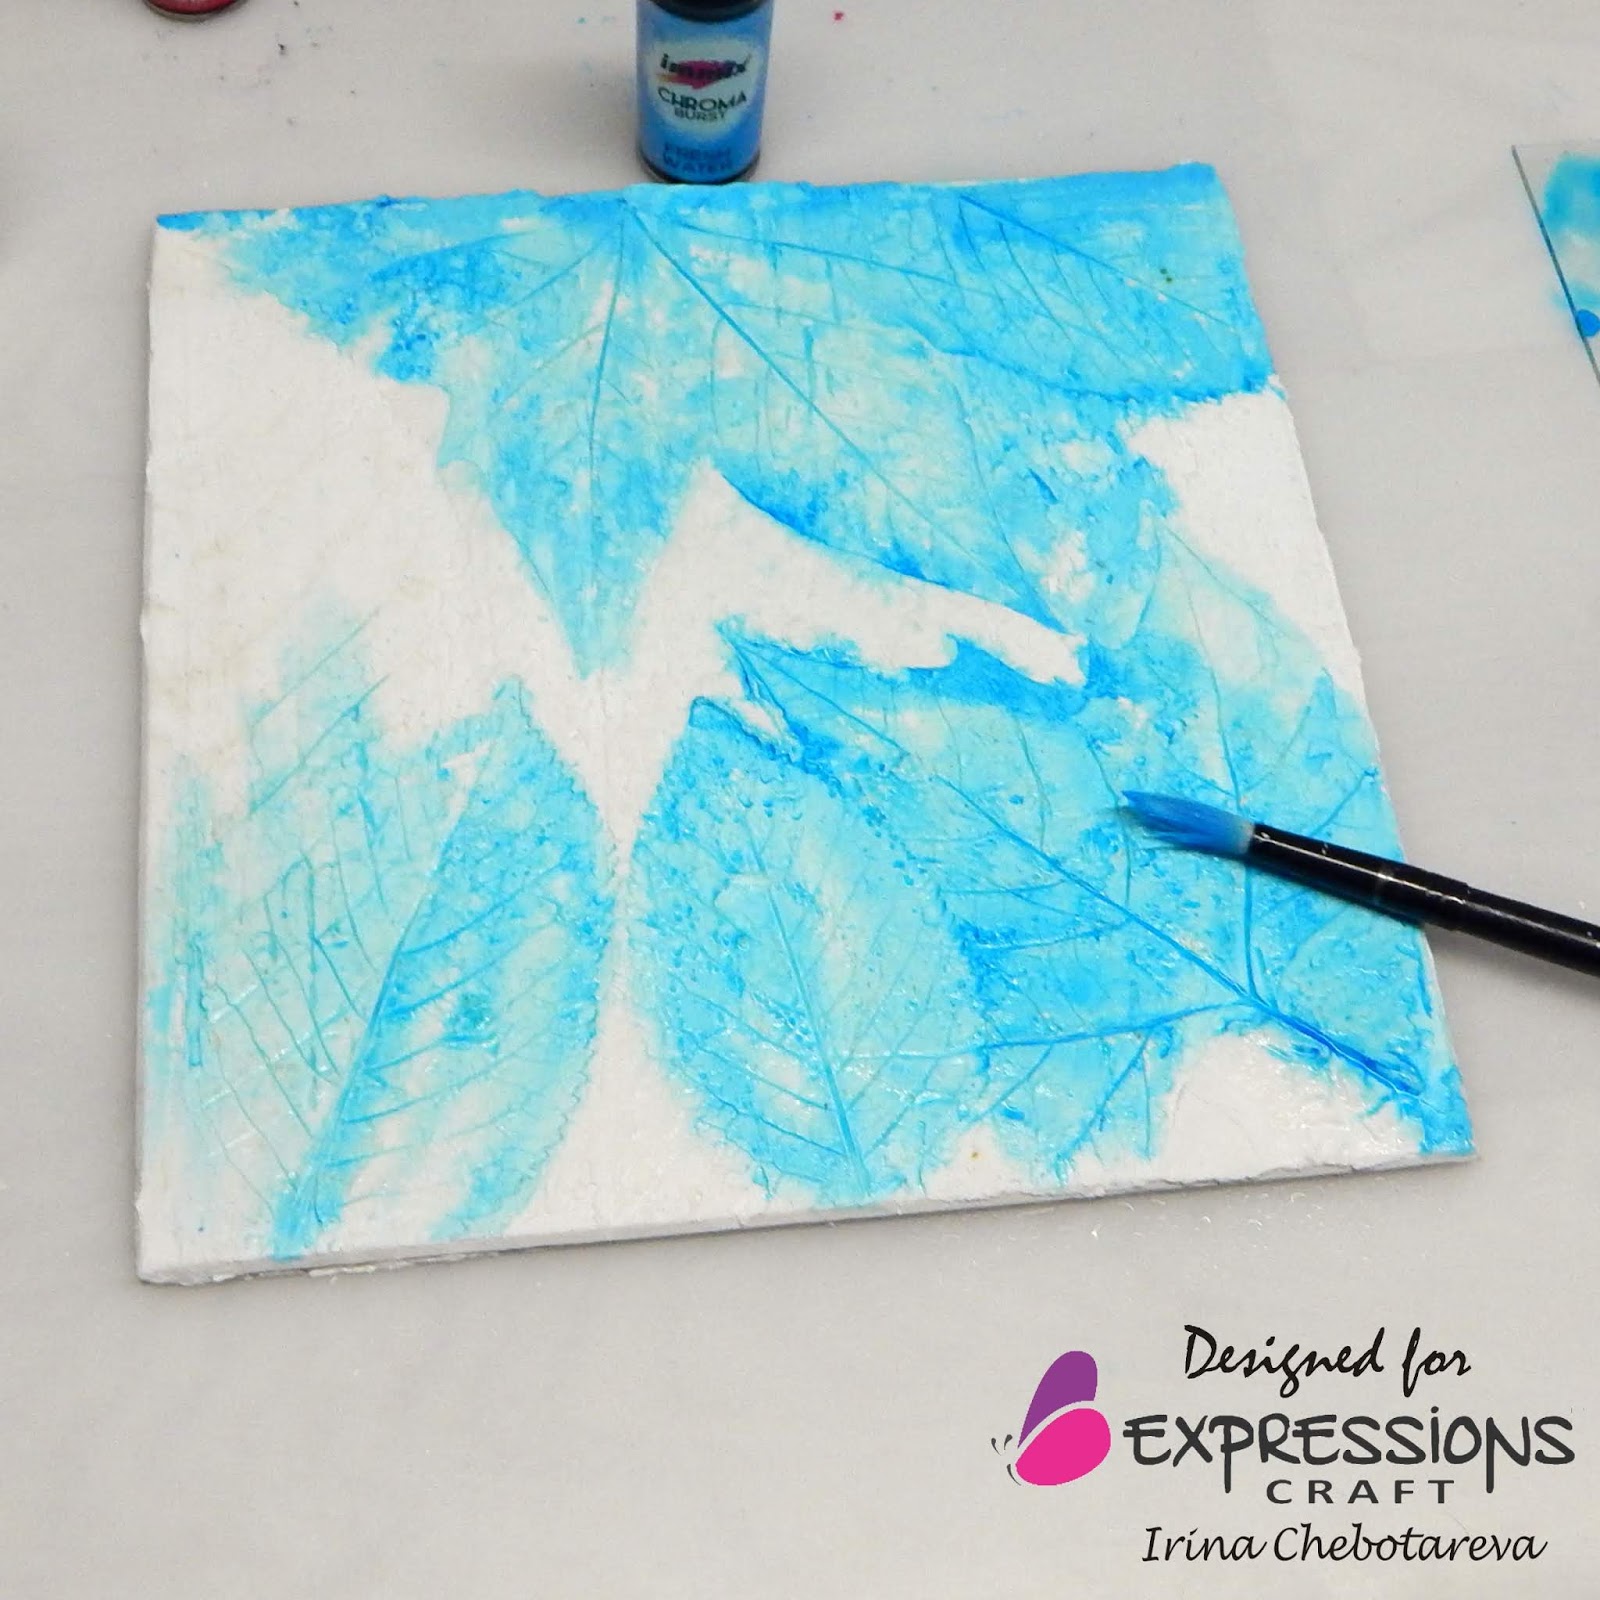
Step 2: Then after pasting the window panel with glue gun, I pasted few molded bricks and later applied a coat of Heavy White Gesso with the help of a sponge dabber and then added Deco art stones mixed with Opaque Matte Texture Paste.  


Step 3: Applied a thin coat of Heavy White Gesso and then painted the reindeer with Sprinkle Mist Chest Nut  and two Christmas trees with Sprinkle Mist Deep Teal Blue. Also painted the mistletoe chippie with Metallic paints like - Ancient gold, Wedding Red and Mermaid Song. And painted Pillar flourish frame chippie with ancient gold metallic paint.


Step 4: Then I colored the base with Sprinkle Mists - Blaze Orange, Chest Nut and Deep teal blue.


Lastly I pasted all the embellishments with some dried moss and enhanced the Winter look with Ice & Snow Texture Paste and Rainbow Sparks.


Materials used in this project are:

7. Chipboard - Mistletoe and Pillar Flourish Frame

I hope you have liked the above project.. create one using your imagination and participate in our monthly challenge.

Happy Crafting!

Love & Peace from me to you all...


Monday 25 November 2019

WINTERY DREAMS- INSPIRATIONAL POST


Hi friends, 
Today its Inspirational monday !!so am back with my project for our Current Month Challenge. In this i have used the newly released chipboards and created this winter scene.I have also made some embellishments such as flowers and leaves using chroma burst and decorated the panel.Take a look at these snaps of my works.


All supplies are available at our website

you can also buy our products from below vendors
connect 4 sale
Hindustan trading company- Fine arts & stationery since 1974

Do participate in our ongoing monthly Challenge
https://expressionscraft.blogspot.com/2019/11/challenge-15-winter-celebrations_2.html


Hope you have enjoyed today's tutorial.
Happy Crafting!!
Regards,
Shwetha Mahadevan


Thursday 21 November 2019

CREATE EVERYDAY - WINTER MIXED MEDIA

Hi friends, I am here with a video tutorial on our currrent month challenge
 "WINTER CELEBRATION". 
"Winter is a season of recovery and preparation." "Winter is not a season, it's a celebration." Let's celebrate it  with such wonderful creations. Hope you will like this video. Pour in your comments. Happy Crafting!!!!!


Here are few shots on the project......


All supplies are available at our website

you can also buy our products from below vendors
connect 4 sale
Hindustan trading company- Fine arts & stationery since 1974

Do participate in our ongoing monthly Challenge
https://expressionscraft.blogspot.com/2019/11/challenge-15-winter-celebrations_2.html


Hope you have enjoyed today's tutorial.
Happy Crafting!!
Regards,
Shwetha Mahadevan

Tuesday 19 November 2019

Beautiful winter canvas with textere paste. Photo tutorial.

Hello all!
This is Irina Chebotareva (IraChe). 

Today I, IraChe, with the unique photo tutorial about creation of mixed media canvas, inspired by our month theme "Winter celebrations".

In this canvas I want to show how the last Autumn leaves was covered with thin ice. Then they set their lacy imprint on it.


here is the step by step process,
I took a thick cardstock for the base. I cover it with white gesso.


Then I cover all with texture paste. To made an leaves imprint I lay leaves on wet paste cover and pull they down. In empty places between leaves I add texture paste too.


When, the paste dry up (not completly) I remove the leaves. Then I left the paste to dry.


And started to coloring. I used Chroma Burst. I wet the canvas with water spray and I added color to veins, first - fresh water, after - silk magic magenda. In the end I added some drops of Golden glow.


Spaces beetwen leaves I cover with Glitters Fairy dust and Magic Sparks on Art gel medium gloss.


After I soften colors with white gesso.
And finally I got beautiful winter canvas.


  Glitters Fairy dust
 Magic Sparks
Art gel medium gloss


Thats all for today guys Hope you all get inspired,, do participate in our ongoing challenge and win exciting prizes, 

Other than our website you can buy our supplies  from 
 Connect4sale, 
Hindustan trading company- Fine arts & stationery since 1974

Happy crafting
With Regards,

 Make beauty with smile,
Irina Chebotareva