Saturday 30 December 2017

2 of us in Mixed Media style!


Hello to all!

Today Me again with a Mixed Media project to show you all, using the Roses stencil and designer oval frame chippie from Expression stamps and a lot of art mediums!
I had fun experimenting with this one!


1. What I did, First I used my purple color gelato and mixed it with Transparent gloss texture paste in different tones from light to darkest, as shown in the pic.


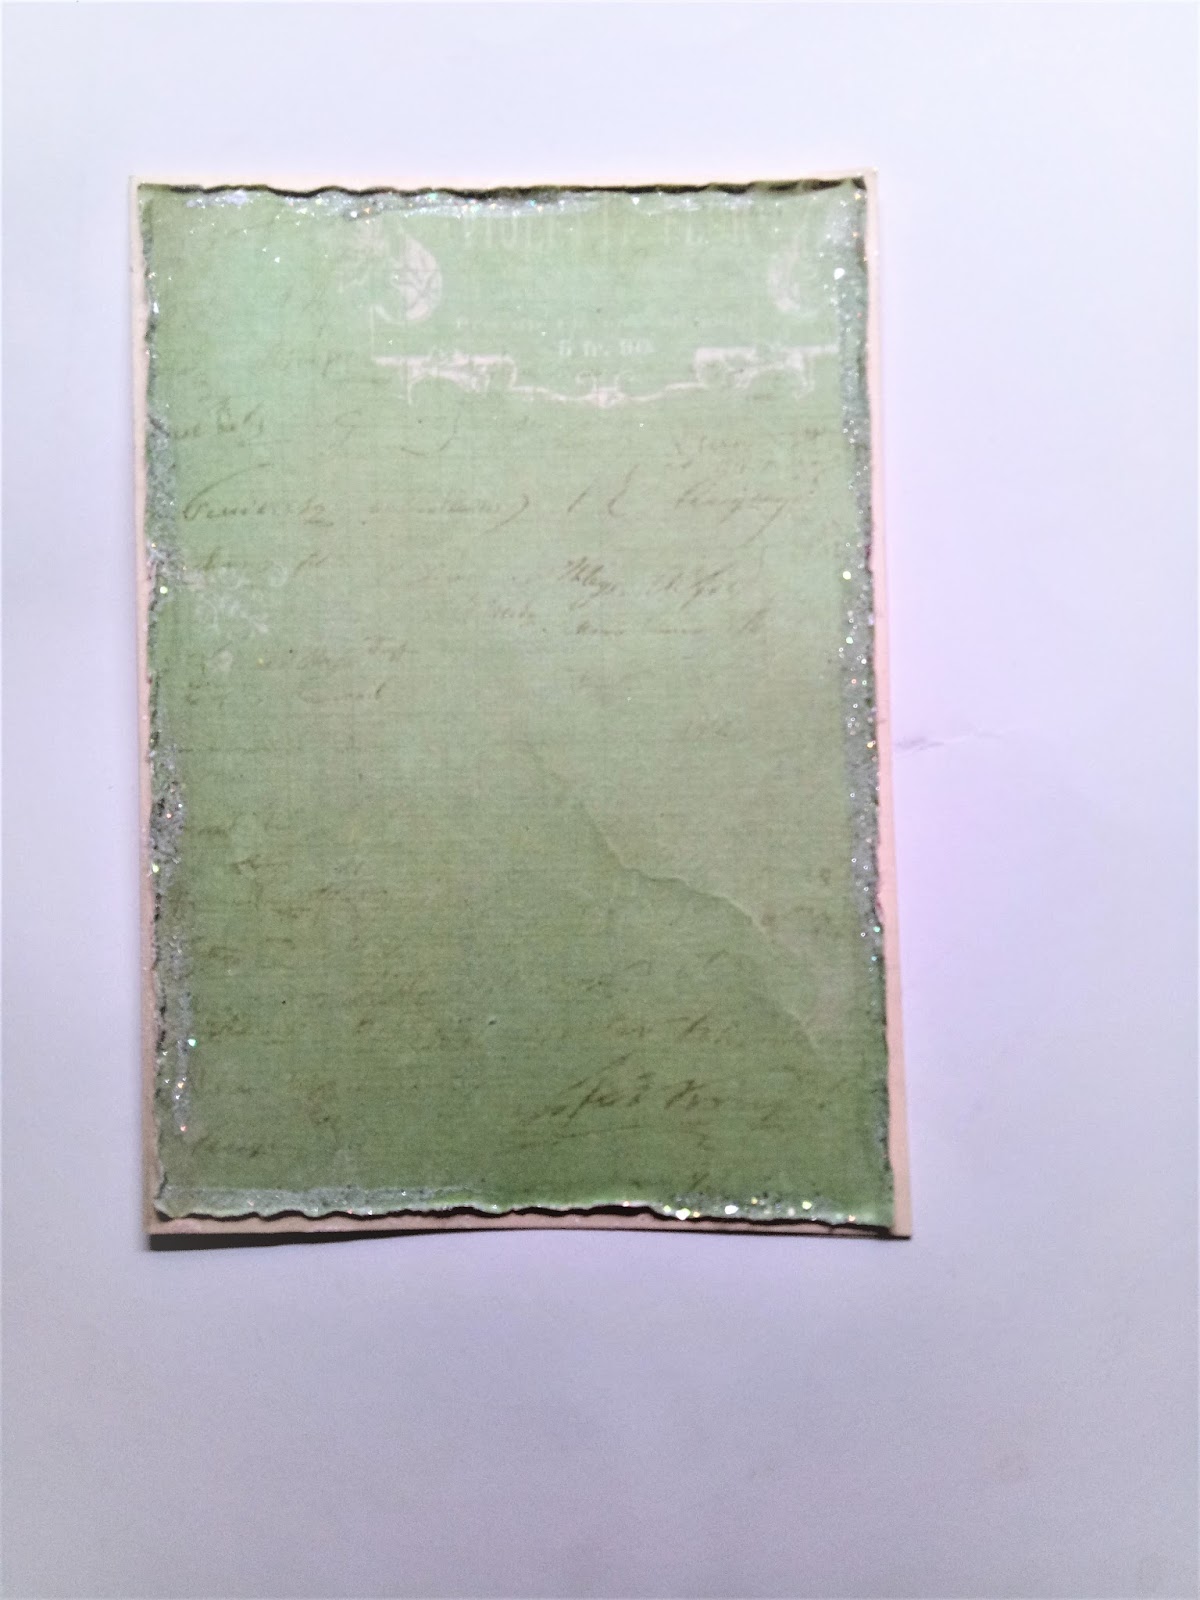
2. Using roses stencil I carefully created the rose background on my texture white sheet and keep it aside to let it dry or you can heat embossed it. Because of the transparency, the line texture appears so clearly with it. Now I added leaves to my roses with green glitter paste. Some of the mixed paste was left so without wasting it, I  randomly applied it using my palette knife from top to bottom as shown in the pic.


Here is the more clear pic showing more details using transparent texture paste and pretty rose stencil! You can see the texture white sheet underneath the paste:)


3. Using 2 shades of blue color tones gelato I mixed it in water and color the leftover white part lightly.
4. On the designer oval frame, I first colored it with black chalk paint and then applied different shades of Opal magic art medium.


5. I covered the couple chippie piece in yellow chalk paint and the flag banner with quotation 2 of us with black and highlighted with opal magic acrylic paint.


6. Now added the crochet lace and a die cut Victorian lace in black color.
7. Now embellished it with a lot of flowers, stickers, charms and I added my own handmade circle leaves in wire too.


8. In the last, I added that banner with a brad and a hanging charm and a metal butterfly


 and highlighted them too. Added Just us chit chat stickers in black with some crystal gems and lots of tiny thermocol balls in white for more textures and some splatters.


I hope you all enjoyed this MM card with lots of textures and fun!!!!


Supplies used:

Stencil
Roses


Chipboard

Other Supplies used:
Cardstock: Black and textured white CS
Die: Victorian Romance Flourish from Cheery Lynn Designs
Stamp: Script from Kaisercraft
MDF cutouts: flag banner- 2 of us and a couple
Texture paste: Transparent gloss from Ranger
Gelatos: Tones of blues and purple
Acrylic Paint: Opal Magic: yellow- blue, pink-blue, violet gold from Prima
Chalk paints: Turrel, lamp black from Papericious
Glitter Paste: Green from Bo Bunny
3D stickers: Forever green from Prima
Tim Holtz Chit Chat stickers
Tiniest Thermocol balls from Itsy Bitsy
Metal Charms: Butterfly and love birds
Crochet lace in white
Designer Crystal gems, Transparent crystal clear circles in different shades, Transparent beads, wire, brad Mulberry roses and different paper flowers from my stash

All the Best to you all crafty friends, Wishing this coming New Year 2018 will be more warm and pleasant!

Happy Crafting!
Vinita Jain

Tuesday 26 December 2017

Holiday cheers using Expressions stamps & Stencils


Hello friends!

Christmas festivity is at its peak now and countdown started to celebrate coming New Year!!! So why not make some fun quick and easy cards using fabulous Expressions Stencils and stamps!

Card 1

Season's Greetings


I created a Northern light sky background using different DI on a glossy white CS and applied transparent texture paste using Garden Floral Spray stencil and added the crystal clear powder to it quickly. 


Now tear a strip out of the bottom part only to create more interest and textures. You can see the textures clearly in this pic:


I die cut Season's Greetings text 2 times out of textured white and black CS. And placed the black letters on the white one for more dimensions, the steps shown below how to do:


A lettering can be placed easily now.

Embellished it with different colorful half pearls. 

Stencils
Garden Floral Spray
https://www.expressionsstamps.in/shop/garden-floral-spray/


Other Supplies used:
Cardstocks: Glossy white CS, textured white CS, black CS, white foam sheet
 Distress inks: fossilized amber, twisted citron, mowed lawn, hickory smoke, carved pumpkin, candied apple, seedless preserves, wilted violet, salty ocean, mermaid lagoon
Die: In a word: Holiday Tiles Cutaways from Winnie&Walter
Transparent Texture paste: Rangers
Crystal Clear Powder: from Papericious


Card 2
Cheerful Triangle Trees


For this card, I die cut some triangles and using the waves stencil, I created the soft neon colorful waves pattern on them. Before drying quickly applied crystal clear powder directly.


On my black card base, I stencil the Merry Christmas word using Silver Glitter Paste and some stars to create the sky. Now using pop dots I adhered all the triangles as Christmas tree.......so easy-peasy:) 
Cool stencil technique with glitter paste, right!

Supplies used:
Stencils

Waves

Merry Christmas

Other Supplies used:
Cardstock: Black CS, white CS
Die: Nesting dies Bunting (Triangle) from Xcut
Radiant Neon Pigment Inks: Cool and Warm colors (set of four) from TSUKINEKO
Glitter Paste: Silver color from Bo Bunny
Crystal clear powder: from Papericious
Aleene's Clear Gel Tacky Glue


Card 3

Pink Roses


On a white panel, I placed the stencil as shown in the pics and used the only pink one side of this beautiful creation.


Roses stencil is so versatile, you can create so many designs with it. Here I created my own Pink roses using Zig watercolor brushes in soft hues to match my BG. And applied crystal clear Nuvo drops with my brush for a little sparkle. You can see the shimmer in the pic below.


Stamp the sentiment in pink. Now I placed the stencil BG on a pink panel.  Using double running Stitch Rectangle die cut a textured white panel and adhered that pink panel on it and then to the card base. Added a grey color lace with a gorgeous ribbon and twine with a bow. Placed those roses using pop dots. Finished it off with some sequins and splatters.


Stencil
Floral
https://www.expressionsstamps.in/shop/lamp/


Roses
https://www.expressionsstamps.in/shop/rose/


Other Supplies used:
Cardstock: Textured white, whisper white and Raspberry CS
Die: Crazy Double Running Stitch Rectangle Dies from Stamplorations
Zig Clean Color Real Brushes
Nuvo Crystal drops- White Bizzard
Sequins, dual shade twine and soft baby pink ribbon are from my stash

Card 4

 It's all about Birthday Celebration!


       First of all, I die cuts lots of Hexagon shapes in two sizes. Using my Misti I stamped all the tiny images together at a time:) work made easy and fast! Heat embossed them all. Using Distress inks I gave them an ombre effect in the centre to highlight the details of the images clearly.
Placed them up all to create a background with all Party elements but don't paste them! Took a picture of it with my cell phone (I found that no matter how hard you try to make an order when it comes to trimming with scissors, it's easy to get into a mess).


I die cut an another Hexagon from out of my front card base and placed an acetate sheet on it. And overlapped with one more window hexagon.


    Now I popped them up all to create a colorful and dimensional background and trimmed them with my scissors from all the edges. Die cut Let's Party sentiment out of glitter and white foam sheet and placed them on my base card.


The Birthday cake peeking from the inside is stamped on a black color hexagon, using the cutout front as my guide and heat embossed the image Now highlighted the embossing image using my Pigma Brush pens, how pretty effect:)
  On another white CS, I distressed it from all the sides using picked Raspberry ink. Stamped the banner at the top, sentiment too from the same set and heat embossed them. On a white strip, stamped another sentiment too and heat embossed it. Cut out two strips the golden glitter color foam sheet. Now place all the elements on my card using pop dots!

Supply List:

Stamp

Happy B'day
https://www.expressionsstamps.in/shop/happy-bday/


Other supplies used:
Cardstocks: Textured white heavy CS, Black CS, Golden glitter foam sheet
Dies: Rectangles from Tattered Lace; Stitched Hexagons from Gina Marie Designs; Let's Party from Sizzix Sizzlits
Distress inks: Faded jeans, tumbled glass, tattered rose, picked raspberry, squeezed lemonade, twisted citron, ground espresso
Embossing Powders: Metallic Gold Sparkle Glitter and Primary Fuchsia Fusion from Wow
Versamark Watermark stamp pad; Rounded Blender
Pigma Brush Pens: Red, pink, yellow, blue,
Misti; Glossy Accents
Tonic Trimmer; Pop foam dots

That's it for me today, hope you enjoyed! 

I would like to wish everyone Merry Christmas and a Happy New Year in 2018!!!

Happy crafting
Vinita Jain

Monday 25 December 2017

Winter celebration

Hello friends,
Its me Bhavani  here again with 2 projects in the theme of winter celebration! quickly lets move on to the projects, The first one is kind of 3 D project and the second project is a Christmas card.....Isn't it interesting? lets have a look at the projects and followed by simple tutorial.


As i have not taken many pics when i was doing this project so the tutorial will not be elaborate :(

Using Expresssions Brick wall stencils i have created this top wall of the house.


flooring is ready, goor chipboard is colored and stuck to the wall of the house.


Chipboard colored with green color


can you see wreath its handmade by me :) 
also used micro thermocol balls to give  snow fall mood


some close ups


Second project is Christmas card

attached a green colour pattern papers from my stash to the base of the card 


another maroon card stock  where i have used Christmas theme stencil and applied white gesso to create background, also diluted the white gesso and tapped it with my brush to give snowy effect
and in edges sprinkled some frosting powder 


These are few embellishments using frosting powder again i have frosted all leaves and chipboards


This is to stick it on the background, but actually u may skip this step for more background visibility


This the chip board from Expressions and i have stuck the Christmas theme pattern paper over it 


And finally, stick all together and your card is ready


few more close-up


Hope you all enjoyed my two projects , leave your valuable comments which is very important to us.


Supplies used : 


Thanku
Merry Christmas!!!
and 
Happy new year 2018