Showing posts with label cardstock. Show all posts

Thursday, 28 February 2019

Baby Zodiac _ Mixed Media Layout

Hola, 

Manasa Priya back at the Expressions Craft studio with a tutorial on how to Acrylicmake your own baby photo layout.

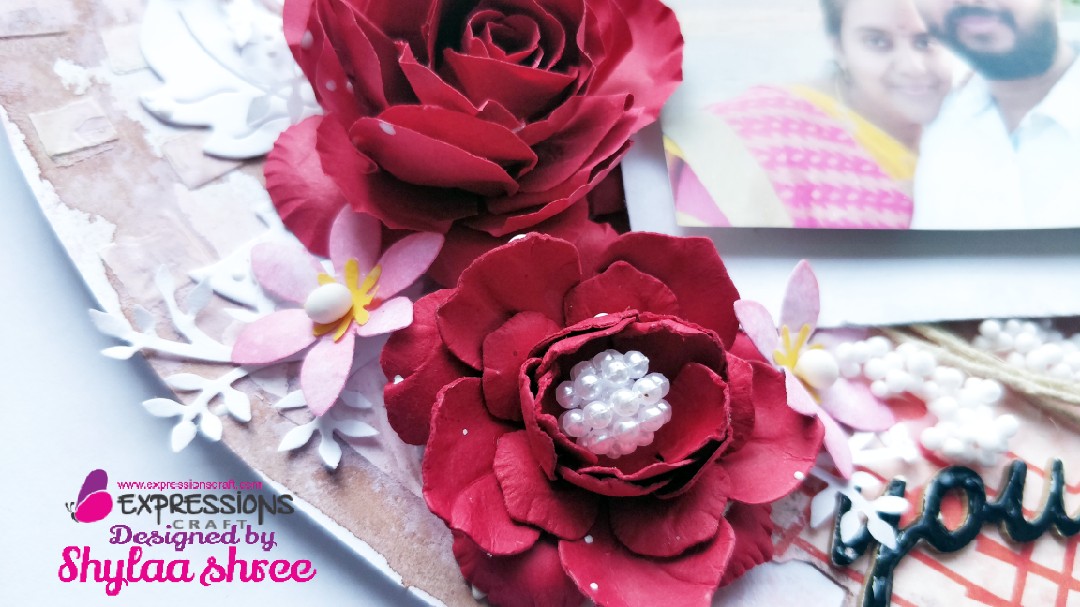
This particular project can be used as your scrapbook page or can be framed as is.  I plan to frame it up my LO's layout ☺

So,  for this project I picked a white Cardstock from Expressions Craft as a base
The newly launched fabric pack was using for layering,  here I used a burlap sheet to keep my composition very earthy.

And I particularly highlighted the birth date in glitter,  used the premium glitter Alaskan Gold for the same.

Stamped with sentiments pertaining to the baby's Zodiac - Cancer
And all the characteristics pertaining to the sign to add interest along with some script to add to the background.
So here is my quick layout using the chalk paint azure and sprinkle mist deep teal.   I used the heavy gel medium to add textures
Used the art medium to stick all the elements in place.

I hope you liked it. Here is the detailed video tutorial for you guys ☺


Also,  listing out all the supplies used in creating this layout
Fabric Pack

Until next time..  ❤

Friday, 31 August 2018

Layout with Decoupage Paper and Chalk Paint

Hello Crafty Friends,

I'm Priya with you today with my mixed media Layout using the beautiful chalk paints and Decoupage papers from Expressions Craft.
I started with a plain white cardstock from Expressions craft and adhered some decoupage sheet, which I fussy cut to get some desired designs, on it to get a colorful background for my LO.
For some interesting texture, I used stamps and texture paste and applied through expressions craft stencil. Then I applied some chalk paints as well as some sprinkle mist to color my background.
Then I attached the photo and decorated the LO with some flowers, deco stones and sentiments.


I made a video tutorial for the same, but it was getting dark and I had to stop midway. But I hope you like the project.

Supplies Used:


Thank you for visiting. Do not forget to enter our challenge for the month.
Hugs,


Monday, 25 June 2018

heart shaped mixed media layout

Hello Crafty Friends,


I am shylaa here.

Only 6 days left to participate in our challenge. The challenge theme this month is  Anything Goes.
 
Here is my inspiration with a Heart shaped Mixed media layout. Hope i am not boring you with my own photograph.

I have used our decoupage paper,chalk paint, kitchen love chipboard embellishment and pinwheel square stencil in this project


Steps involved:
1. On a Cardstock, coat a layer of gesso
2. Add textures using stencils. I have used pinwheel square stencil
3. Add colours - i have sponged the IMMIX Vintage tulip chalk paint and fabrica brown paints and misted it with water
4. To the center i have adhered the La music decoupage paper and added layers with photo and embellished with handmade flowers. The flowers are made with our cherry red cardstock
5. I have used our kitchen love chipboard embellishment.  I have added dovecrafts enamel effects over the sentiment.
6. Finish by spritzing white paint, adding deco stones etc..

Some close ups


Hope you are inspired to create something using our products

Link your projects here.

Pls follow the guidelines before you play along with us.

Supplies used in this project


Immix Chalk Vintage Tulip


  Pinwheel square Stencil


Thank you so much for stopping by

Happy Crafting!
Shylaashree

Wednesday, 20 June 2018

Orange Love-Birthday Card


Good morning Lovely people
Kirti here,
Towards the end of my tenure, i have found out my newly developed love for handmade Greeting cards. Its a beautiful way to say you care.

So sharing another beautiful card


Interesting!! Isn't it??
With the saffron Card stock, Vintage Flower & Happy birthday sentiment Stamp i have made this orange Love- birthday card.

Just a layer of saffron cardstock, Stencilling with Sparkle paste & Big flower made using Saffron Cardstock. And its ready!!
Have a closer look.


Here is a Quick Link to Products used.

Would love to see what are you making for our Anything goes challenge this month
 
Thank you for stopping by..
Hugs,
KIRTI

Thursday, 14 June 2018

Scrapbook Embellishments featuring Chipboards & Cardstocks


Good Morning Crafty People,
Kirti here.

If you are a Scrapbook maker, then this post is for you. When we Make detailed Scrapbook (mini album) something that bothers is Embellishing it rightfully. So, that can be done with something Handy in your stash.

Today I am sharing an Inspiration for Scrapbook Embellishments featuring Chipboard Embellishments, Cardstocks and Stamps by Expressions Craft.
Have a look..

I have used Diecuts and punches and some ready made flowers for making them.

For this shaker pocket I have Embossed the cardstock for back ground and have embellished it with Sentiment Chipboard 


I have die-cut Background & border and have embellished it with Vintage ornate chipboard, fairy at the center and stamped sentiment


A Punched Butterfly, Stamped Mushroom house & Star dangler chipboard went really well


A Beautiful Die-cut With shining star from star dangler chipboard accompanied well with teddy bear cut-out & sentiment.


Sharing the quick links for reference Products


Thank you for stopping by..

Love,
KIRTI

Tuesday, 12 June 2018

Dream Catcher With Chipboard

Hello, Friends

Dheepika here today.

What are you making for our current monthly challenge. Hope  you are aware of the theme it Anything Goes.

  I'm back with an Dream Catcher with our Chipboard.


A step at a time:
  • Take a dream heart chipboard, trace the outline on a pattern paper and cut the shape of the outline.
  • Paste the pattern paper below the chipboard.
  • Attach the feathers on the bottom of the heart and hanging on the top of the heart.
  • Add flowers and leaves at the top and bottom of the heart.
  • Add small butterfly's on it.
  • Colour the small hearts with metallic colors.
  • Now the Dream Catcher is ready.
Video Tutorial:


Flower Making Tutorial


Dream Catcher Tutorial

Here are a few photographs of the project including close ups


Supplies list:


Thank you for visiting our blog again,

Don't forget to be awesome!
Dheepika vasudhevan.