Hello friends,
This is Shalini Kundrai ,sharing with you all my first project as a design team member. Recently i shifted to my new studio so thought of making something for it using very vast craft products of Expressions Craft. Initially i thought of using only one particular product but one can't resist when you had received amazing products in your DT kit i just wanted to try n test everything. So i finally decided to make a mix media Canvas.
Checkout the following step by step process pics with details
1. Actually i wanted some blue to coordinate with my T light holders so firstly i took a picture which i was hoarding for so long n some pattern papers to match the flowers i received in my DT kit ..So here is 15*15 inches canvas with pics n pattern paper cuttings
2. i thought of using waste corrugated sheet to give some textures.
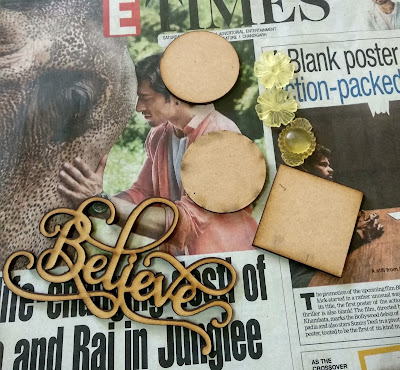
3. So here are all the products that i had used in this project
4. A rough layout of what was in my mind
5. After the rough layout i gave textures on the edges n sides of canvas using texture paste n stencil
6. i decided to add few more elements to make it more appealing so i used few laser cutouts n resin embellishments
7. i decided to add textures on these cutouts also
here i used Chippy n handmade flowers to complete the look which was on my mind...n these beautiful flowers are the reason i chose pattern papers which i used on sides. this leafs branch chippy beautifully coordinating my bhudha pic.
8. After the texture got dried i applied 2 coats of heavy black gesso on edges n sides of canvas as well as corrugated sheet followed with dry brushing with Chalk paint Azure n Metallic paint Holiday Gold
9. To give exactly the same shade of green flower i used grassy field chalk paint with little black gesso to paint grape wine leaves branch chipboard . Finally i pasted all the pattern papers, corrugated sheet , Bhudha pic , flowers , chippy n laser cutouts using Art mediums Acrylic matte n gloss .Lastly i decided to change laser cutout from Believe to Life is Good...here is the final look from side n front
Thank you so much for stopping by n I hope u enjoyed this process tutorial.


No comments:
Post a Comment